Note: There are four common Green Drake species in Western rivers: Drunella grandis, Drunella doddsi, Drunella flavilinea, and Drunella coloradensis. The first two are usually lumped together as "Green Drakes" while the latter two are often referred to as "Flavs" and "Slate-Winged Olives," respectively.
Green Drake Grandis Winged Emerger
(Ephemerellidae Drunella Grandis)
By: Larry O Jurgens
Hook: TMC 2312
Size: 10 ~ 16
Tying Thread: Brown 14/0
Gordon Griffiths
Shuck: Brown Olive
Antron Yarn
Abdomen: Tan Superfine
Dubbing
Rib: Brown Flex Floss
Wings: Medium Dun,
Whiting Farms Coq de Leon Hen Cape Hackle Tips
Thorax: Rusty Brown
Superfine Dubbing
Hackle: Olive Dyed
Grizzly
Head: Tying Thread
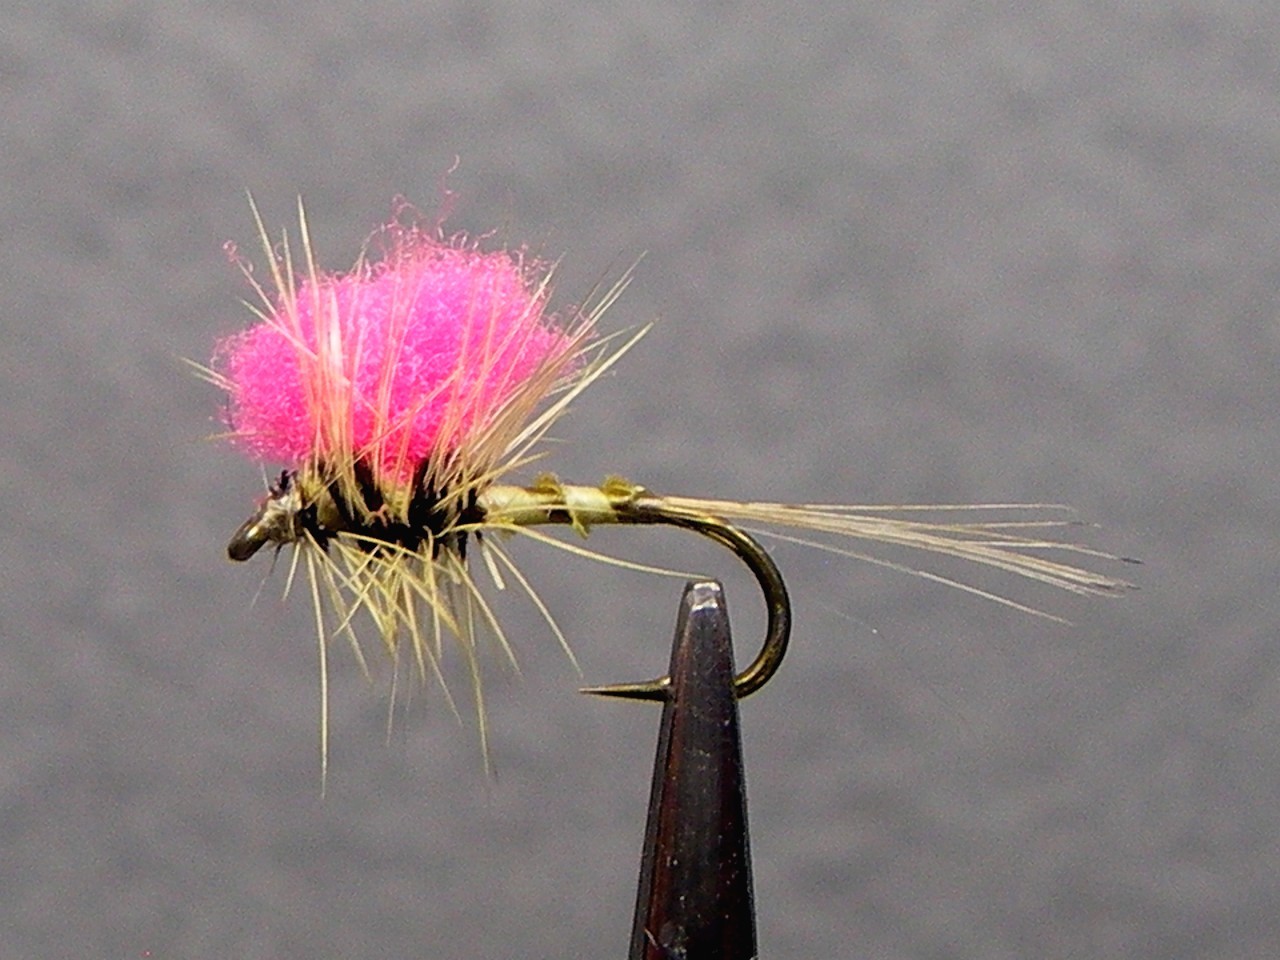
Green Drake Grandis Winged Emerger
(Ephemerellidae Drunella Grandis)
By: Larry O Jurgens
Hook: TMC 101 (Shown) or TMC 100
Size: 10 ~ 14
Thread: Olive Dun 6/0 or 8/0 UNI-Thread
Tail: Moose Body Hair
Abdomen: Adams Gray Superfine Dubbing
Rib: Chartreuse Danville Flat Waxed Rayon
Wing: Wing: Gray Dun Antron Yarn
or Light Gray Polypropylene Floating Yarn
Thorax: Adams Gray Superfine Dubbing
Hackle: Badger or Grizzly
Head: Tying Thread
Note: I tie a much shorter wing than a live specimen which helps the fly
in landing correctly.
When fishing shallow water I trim the hackle on the bottom of the fly to
about the mid-point of the hook gape thereby presenting a lower profile.


